
Cinema 4D Ascent | School of Motion - 2025
A collection of assignment work created during the Cinema 4D Ascent course with the School of Motion, a 2 month intensive course that I undertook in 2025 for intermediate level 3D animation using Cinema 4D + Redshift.
An intermediate Cinema 4D course by School of Motion focused on taking 3D motion design skills beyond the fundamentals. It covers advanced modelling, MoGraph, procedural animation, dynamics, particles, rigging, materials and Redshift rendering. The course includes 25+ hours of training and nine practical projects, designed to build polished, production ready 3D work.
Orientation Exercise - Redshift Product Render
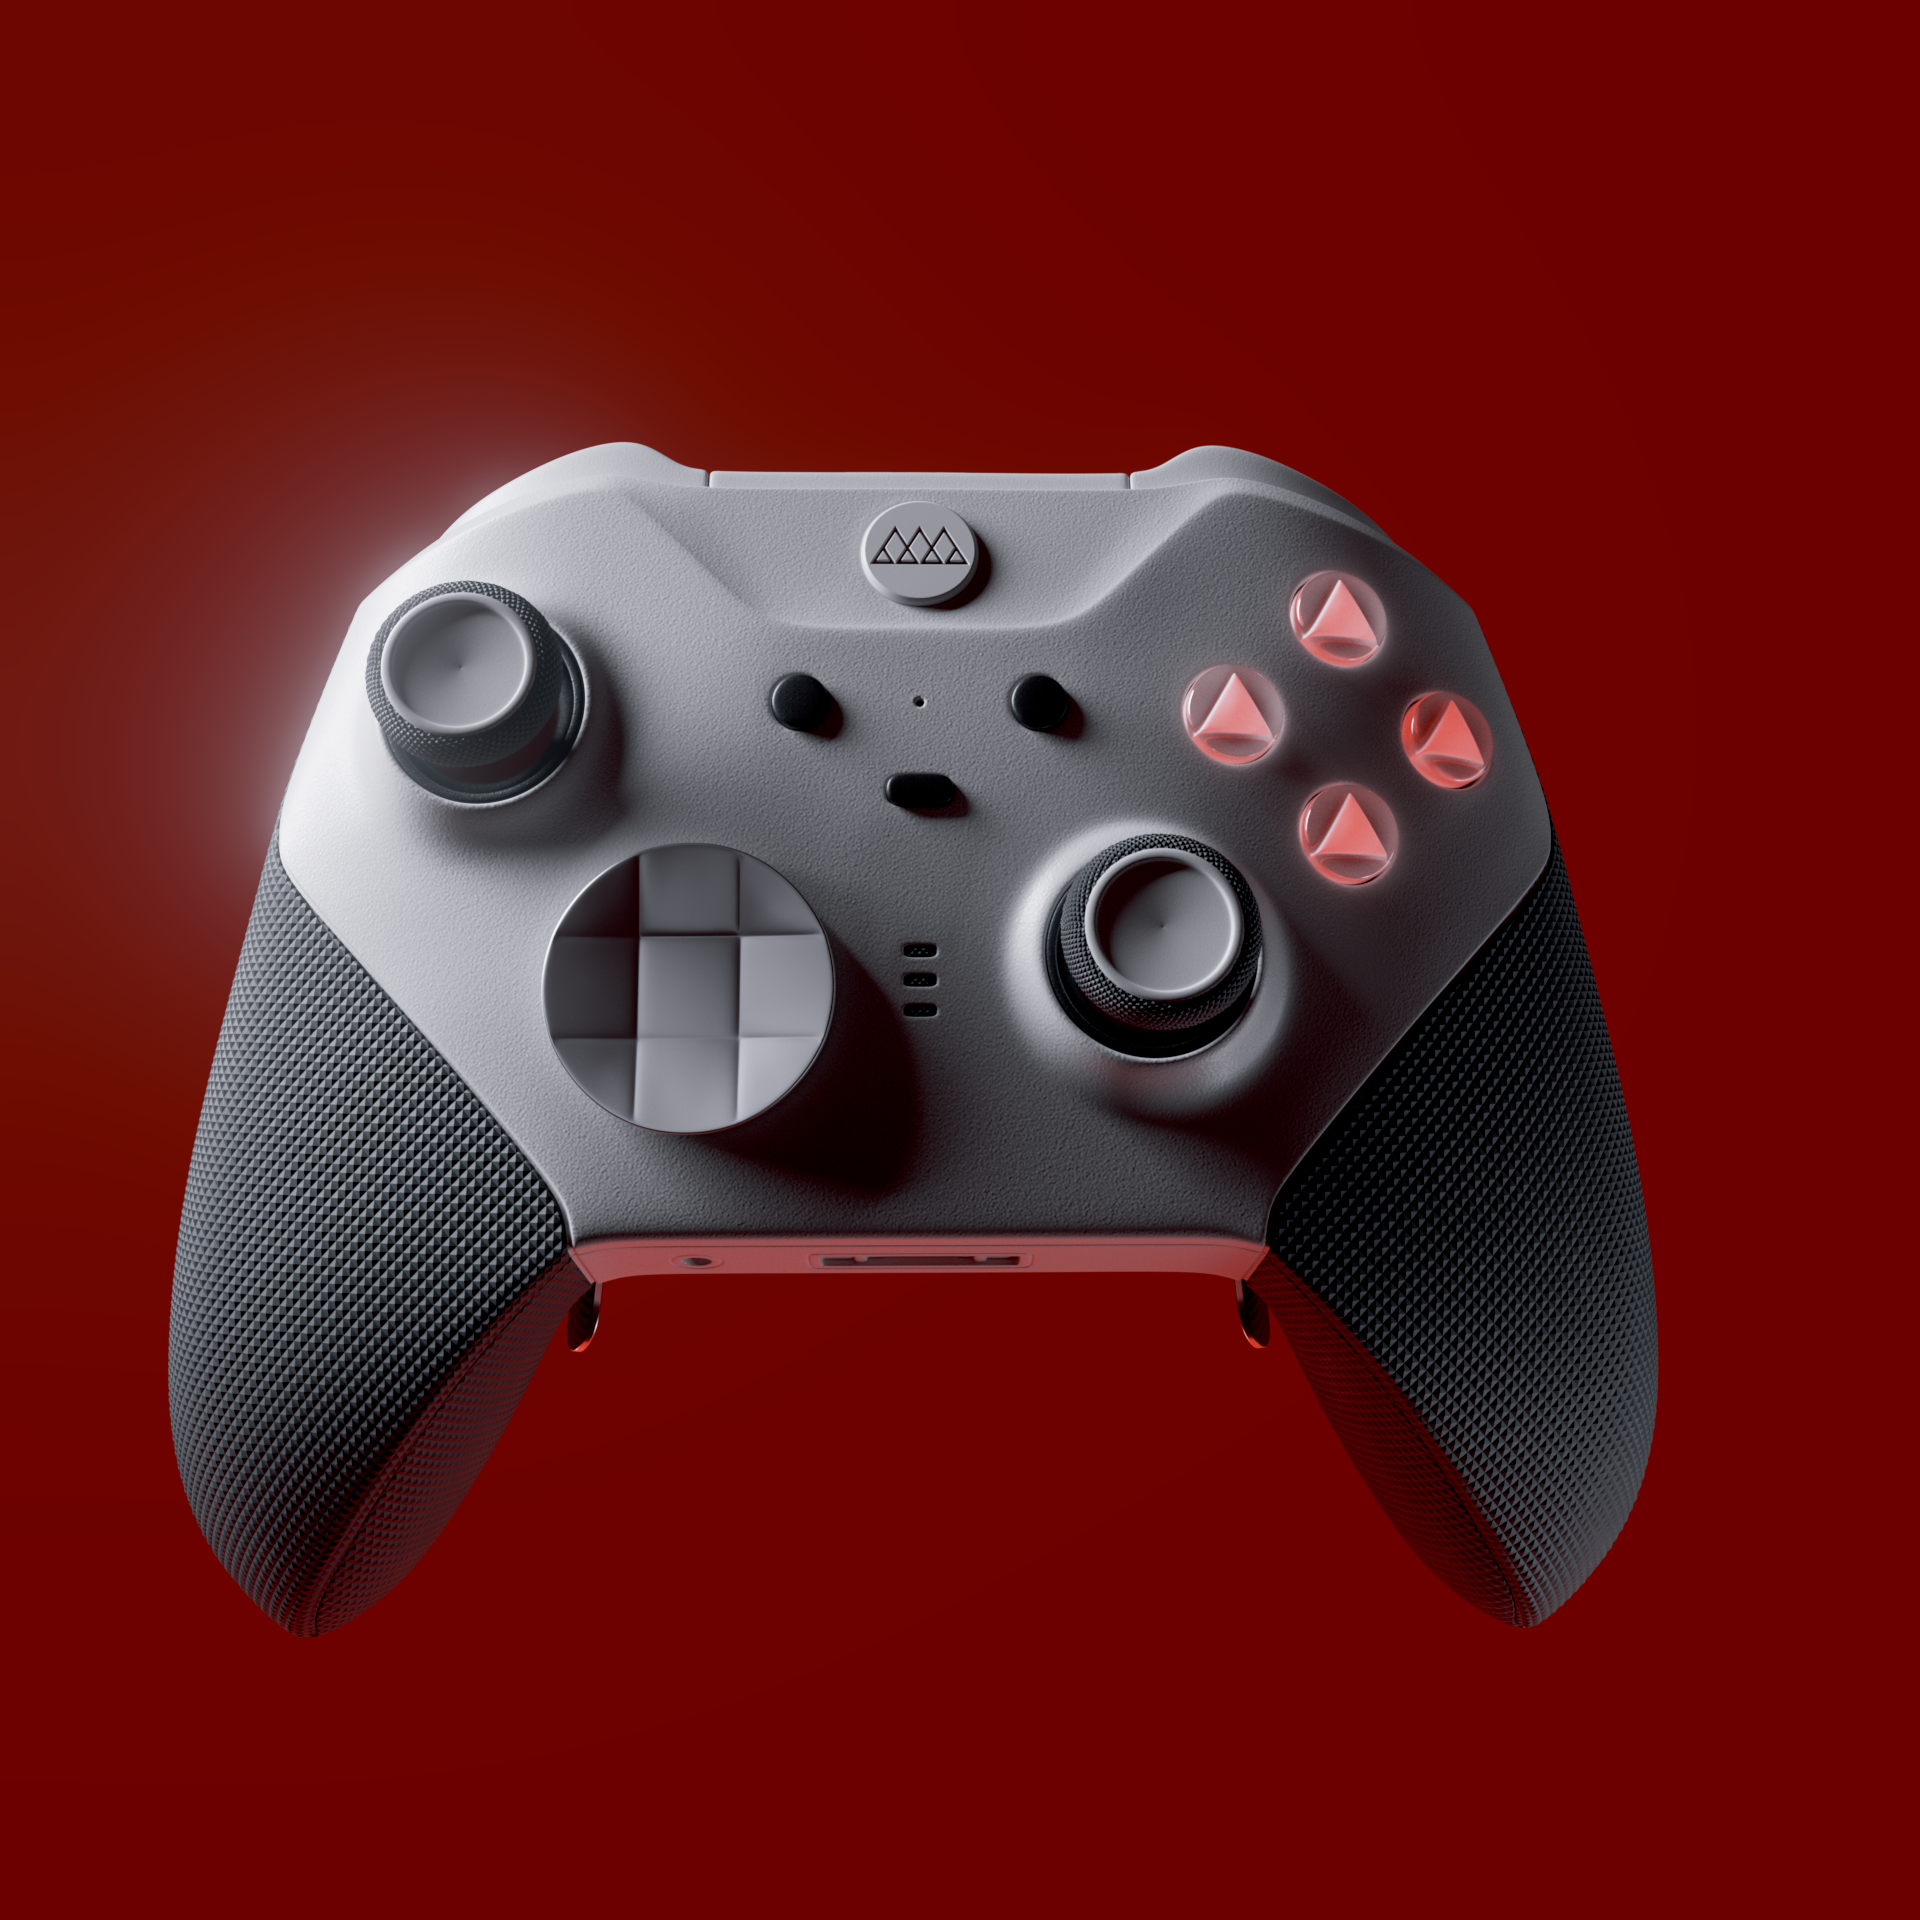
Kicking off Cinema 4D Ascent with a practical product modelling and rendering exercise, creating a detailed game controller asset while exploring the fundamentals of Redshift materials, lighting, and look development. This project was a fun introduction to building realistic surfaces from scratch, experimenting with plastic, metal, rubber and glass textures, and using procedural materials, reflections, imperfections and cinematic lighting techniques to bring a product visualisation to life.
[Modelling / Rendering]
Pump Up The Volume - Volume Builder & Volume Mesher Assignment
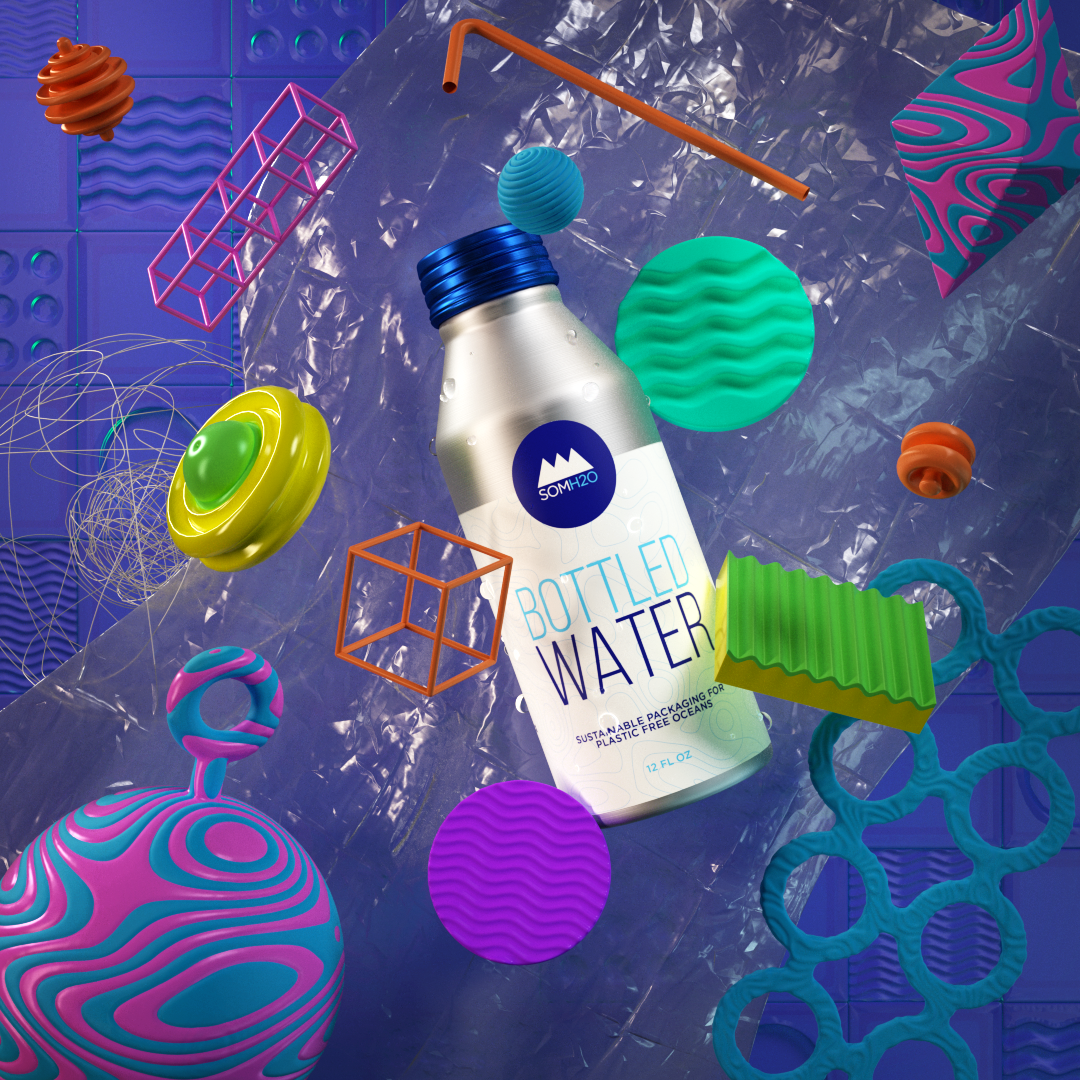
Starting this assignment was a fantastic introduction to the building blocks of modelling in Cinema 4D, with a deep dive into the creative possibilities of the Volume Builder and Volume Mesher. Using simple primitive objects as a foundation, I explored how procedural workflows could blend, smooth, and transform basic shapes into complex organic forms, all while keeping everything completely non destructive. It was an exciting shift away from traditional polygon modelling and a great lesson in building flexible systems that are easy to refine and experiment with.
Playing with fields, resolution, smoothing, and boolean style operations opened up a whole new way of thinking about form, where even the smallest adjustment could produce something completely unexpected. By the end of the project, I had a solid foundation in procedural volume modelling and a growing appreciation for just how much creative potential can come from a handful of simple shapes. Even a humble cube can have a surprisingly exciting second career.
[Concept / Modelling / Compositing / Rendering]
Growth Mindset - Advanced MoGraph, Fields & Vertex Maps Assignment
This assignment explored procedural animation on a much larger scale by simulating an organic grow on effect across a custom built landscape using Cinema 4D's advanced MoGraph tools, Fields, and Vertex Maps. Keeping the entire scene live and fully procedural meant every stage could be refined as the design evolved, while layered Fields and Vertex Maps controlled exactly where and how the animation spread, creating natural, evolving motion without relying on traditional keyframes.
To manage the scale of the scene, I stepped up from the Cloner workflow and used the Matrix object to control thousands of instances while keeping everything fast and editable. Building the entire setup as a procedural system made it easy to art direct, iterate, and experiment, proving just how powerful Cinema 4D becomes when technical workflows and creative thinking work hand in hand.
[Concept / Modelling / Animation / Compositing / Rendering]
How Rube - Rigid Body Dynamics Assignment
Starting with Cinema 4D’s powerful rigid body dynamics system, this project explored the creation of a complex Rube Goldberg machine built entirely through procedural modelling, animation, and physics simulation. The challenge was designing a chain reaction of interacting objects where every element relied on realistic weight, timing, collisions, and physical behaviour to drive the next movement.
From setting up dynamic bodies and fine-tuning simulation parameters to controlling forces, friction, bouncing, and object interactions, this assignment was an exercise in creating believable motion through physics rather than traditional keyframes. The result was a playful and satisfying sequence that demonstrated how creative problem solving, technical simulation skills, and motion design principles can combine to bring a mechanical system to life.
[Animation]
Make It Squishy: SOM Sound Logo Aniamation - Soft Body Dynamics
This was easily one of the most technically challenging and rewarding projects of the course, combining branding, creative direction, sound design, and advanced physics simulation workflows to create a playful logo animation for a fictional sound product company. As this piece is based around sound, I created a custom music mix first before animating, then I designed the animation around the beat, rhythm,and flow of the track to create a more connected and energetic final piece..
The project was a deep dive into soft body dynamics, exploring techniques including Cloth, Rope, Balloon, Soft Body, and Rigid Body interactions to create believable deformation, weight, and physical reactions. The challenge was not just building the simulations, but learning how to art direct them, balancing realistic physics with creative timing and brand personality.
This assignment pushed my Cinema 4D skills significantly further, combining technical problem solving with creative direction to produce an animation that feels playful, polished, and full of character.
[Concept / Storyboard / Modelling / Animation / Compositing / Rendering / Music & SFX]
Mechanically Speaking - FK 3D Rigging Assignment
This assignment introduced Forward Kinematics (FK) rigging through the animation of a mechanical system, focusing on object hierarchies, pivot placement, and clean rotational motion to achieve believable and precise movement. While FK is a slower workflow than IK, it offers exact control over every joint, making it ideal for precise mechanical animation where accuracy matters. It was a great introduction to technical rigging in Cinema 4D and reinforced how thoughtful setup and careful timing can bring even simple mechanisms to life.
[FK Rigging / Animation / Rendering]
Gettin' Riggy Wit It: 3D Character Animation Using IK Rigging Assignment
This assignment introduced character animation in Cinema 4D through the setup of an Inverse Kinematics (IK) rig, transforming a simple 3D character into a controllable animated system. Building the rig involved creating joint hierarchies, weighting the mesh, and setting up controls for more intuitive posing and movement. Unlike Forward Kinematics, IK allows hands and feet to be positioned directly while the rig automatically calculates the connected joints, creating a faster and more natural workflow.
With the rig in place, I focused on bringing the character to life through expressive movement, exploring body mechanics, timing, weight, and the principles of animation. IK made it possible to quickly adjust poses and create more natural interactions between the character’s limbs, making the animation process feel more fluid and responsive.
This project was a great introduction to the creative possibilities of character animation in Cinema 4D, showing how a well constructed rig can turn a technical setup into a flexible tool for storytelling and performance.
[IK Rigging / Animation / Compositing / Rendering]